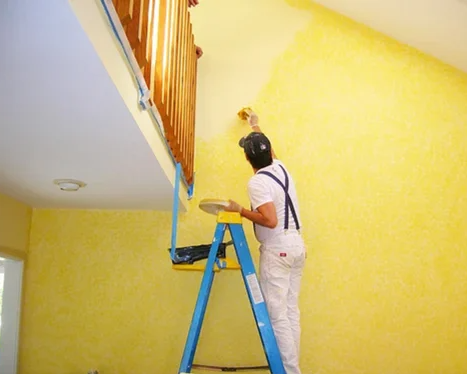
**Painting** is a key aspect of interior and exterior design that involves applying a layer of paint to surfaces for aesthetic, protective, and functional purposes. Here’s a comprehensive guide to painting, covering types of paint, techniques, and tips for achieving the best results:
### **Types of Paint**
1. **Oil-Based Paints**
- **Composition:** Made with oil (usually linseed) and pigments.
- **Finish:** Provides a smooth, durable finish and is often used for trim, doors, and furniture.
- **Drying Time:** Slower drying time, which can be beneficial for achieving a smooth finish but requires more ventilation and cleanup with solvents.
2. **Water-Based Paints (Latex Paints)**
- **Composition:** Made with water as the primary solvent and includes acrylics or vinyl.
- **Finish:** Dries quickly, is easy to clean with soap and water, and is commonly used for walls and ceilings.
- **Drying Time:** Faster drying time compared to oil-based paints.
3. **Acrylic Paints**
- **Composition:** A type of water-based paint with pigments suspended in an acrylic polymer emulsion.
- **Finish:** Durable and flexible, suitable for a variety of surfaces, including wood, metal, and canvas.
4. **Enamel Paints**
- **Composition:** Oil-based or water-based, providing a hard, glossy finish.
- **Finish:** Used for surfaces that need a tough, durable coating, such as kitchen cabinets or outdoor furniture.


5. **Specialty Paints**
- **Heat-Resistant Paints:** For surfaces exposed to high temperatures (e.g., stoves, grills).
- **Anti-Mold Paints:** Contains additives to prevent mold and mildew growth, ideal for damp areas like bathrooms and basements.
- **Chalk Paints:** Provides a matte, chalky finish, often used for furniture and decorative projects.
### **Preparation**
1. **Surface Preparation:**
- **Cleaning:** Remove dirt, grease, and dust from the surface. Use a mild detergent or cleaner.
- **Sanding:** Smooth out imperfections and create a better surface for the paint to adhere to.
- **Priming:** Apply a primer if needed, especially on new, bare surfaces or if changing from a dark to a light color. Primer helps with adhesion and coverage.
2. **Protecting Areas:**
- **Tape Off:** Use painter’s tape to protect edges, trim, and areas you don’t want to paint.
- **Cover Floors and Furniture:** Use drop cloths or plastic sheeting to protect surfaces from paint splatters.
### **Painting Techniques**
1. **Brush Painting:**
- **Best For:** Detail work, edges, and trim.
- **Technique:** Use long, even strokes and avoid overloading the brush. Use a brush with synthetic bristles for water-based paints and natural bristles for oil-based paints.
2. **Roller Painting:**
- **Best For:** Large, flat surfaces like walls and ceilings.
- **Technique:** Use a roller with a nap length suitable for the texture of the surface. Load the roller evenly and roll in a "W" or "M" pattern to avoid lines.
3. **Spray Painting:**
- **Best For:** Large areas and intricate details.
- **Technique:** Use a consistent sweeping motion and maintain a proper distance from the surface. Protect surrounding areas from overspray.
4. **Texturing:**
- **Best For:** Adding decorative effects or hiding imperfections.
- **Technique:** Use tools like sponges, brushes, or special texture rollers to create effects.
### **Finishing Touches**
1. **Touch-Ups:** After the initial coat dries, inspect for any missed spots or imperfections and apply additional coats if necessary.
2. **Cleaning Up:**
- **Brushes and Rollers:** Clean with water for water-based paints and with solvents for oil-based paints.
- **Remove Tape:** Carefully remove painter’s tape while the paint is still slightly wet to ensure clean lines.
3. **Ventilation:** Ensure proper ventilation during and after painting to help the paint dry and to avoid inhaling fumes.
### **Tips for Success**
- **Choose Quality Paint:** Higher-quality paints often provide better coverage and durability.
- **Test Samples:** Apply a small sample of paint on the wall to check color and finish before committing to the entire area.
- **Work in Sections:** For large areas, work in manageable sections to ensure even application and blending.
- **Follow Manufacturer’s Instructions:** Adhere to the paint manufacturer’s guidelines for application, drying times, and re-coat intervals.
By understanding the different types of paint, preparation techniques, and application methods, you can achieve professional-looking results whether you’re refreshing a room, tackling a DIY project, or undertaking a more extensive renovation.
